Homemade chicken pot pie. Learn how to make one of the most comforting of all comfort food recipes of all time.chicken pot pie! Perfect for Sunday dinner on a cold winter weekend! jennycancook.com. Talk show host Jenny Jones shares her homemade chicken pot pie recipe, all made without butter or cream.
 While it might require a little extra time and effort, we promise this chicken pot pie will be worth it!
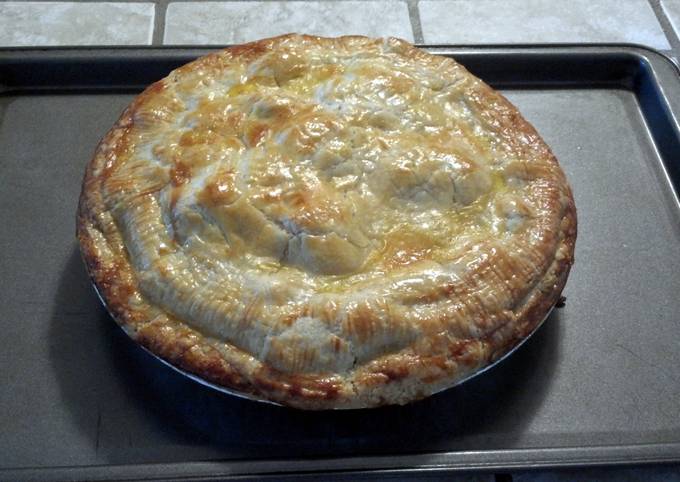
Making your own crust takes this chicken pot pie to the next level.
Here's how to make homemade chicken pot pie, the most comforting meal ever.
To cook Homemade chicken pot pie you need 12 ingredients and just 5 steps. Here is how you cook it.
While it might require a little extra time and effort, we promise this chicken pot pie will be worth it!
Making your own crust takes this chicken pot pie to the next level.
Here's how to make homemade chicken pot pie, the most comforting meal ever.
To cook Homemade chicken pot pie you need 12 ingredients and just 5 steps. Here is how you cook it.
Ingredients
- It's 2 of Deep dish pie crust.
- It's 4 of Chicken thighs cubed, poached.
- It's 1 of Baby lima beans.
- Prepare 1 of Diced potatoes.
- You need 1 of Carrots.
- It's 1 can of veg-all.
- Prepare 1 can of Cream of potato soup.
- Prepare 1 dash of Milk.
- It's 1/2 can of green beans.
- You need 1/2 can of peas.
- You need 1 dash of pepper.
- You need 1/2 can of corn.
Chicken pot pie savory pie filled with cooked chicken, onion, carrot, and peas in a creamy sauce. With a flaky, buttery crust, it's comfort food at its. A homemade chicken pot pie is a thing of beauty. It's a savory blend of chicken, veggies, and potatoes, smothered in a rich, creamy gravy…all This recipe makes two potpies, so you can do one meat and one veggie, or you can make one and freeze the other for later.
Homemade chicken pot pie instructions
- Mix veggies and chicken together.
- pour un pie crust.
- pour soup on top.
- brush egg on top of crust to make it golden brown.
- bake at 350°F for 20 to 30 minutes until crust is golden brown.
Then you get the best of. This Homemade Chicken Pot Pie Is: Satisfying + comforting. Customizable- use your favorite meats and veggies. Overview: How to Make Double Crust Chicken Pot Pie. For the full recipe and lots of step-by-step photos to walk you through the process, scroll to the bottom of this page.